Post Image to Facebook: Steps, Sizes and API Tips
Published on
Tags:
The photo uploads, the caption looks right, and you hit Publish. Then you notice the wrong identity above the post, or your API request times out and you can't tell whether Facebook published anything. Retrying feels reasonable until the same image appears twice.
To post an image to Facebook reliably, choose the simplest publishing route that fits your workload, then verify the result on Facebook itself. The upload is only part of the job. Destination, permissions, accessibility, and delivery status matter just as much.
Table of Contents
Choose Your Route and Confirm the Post Is Live
For a one-off Page post, use the composer. There's little benefit in building an integration for something a person can publish and inspect directly.
For a recurring schedule across a few Pages, use the composer's scheduling option where available. Assign someone to check the queue daily, including the destination and timezone.
For an app, automation, or AI agent, choose between direct Graph API integration and a managed route. Build directly when you have engineering time and the required app permissions. PostPulse is the managed option across several platforms, not only Facebook, when you don't want to maintain token refresh, rate limits, and API version changes yourself.
Use this decision checklist before committing to a workflow.
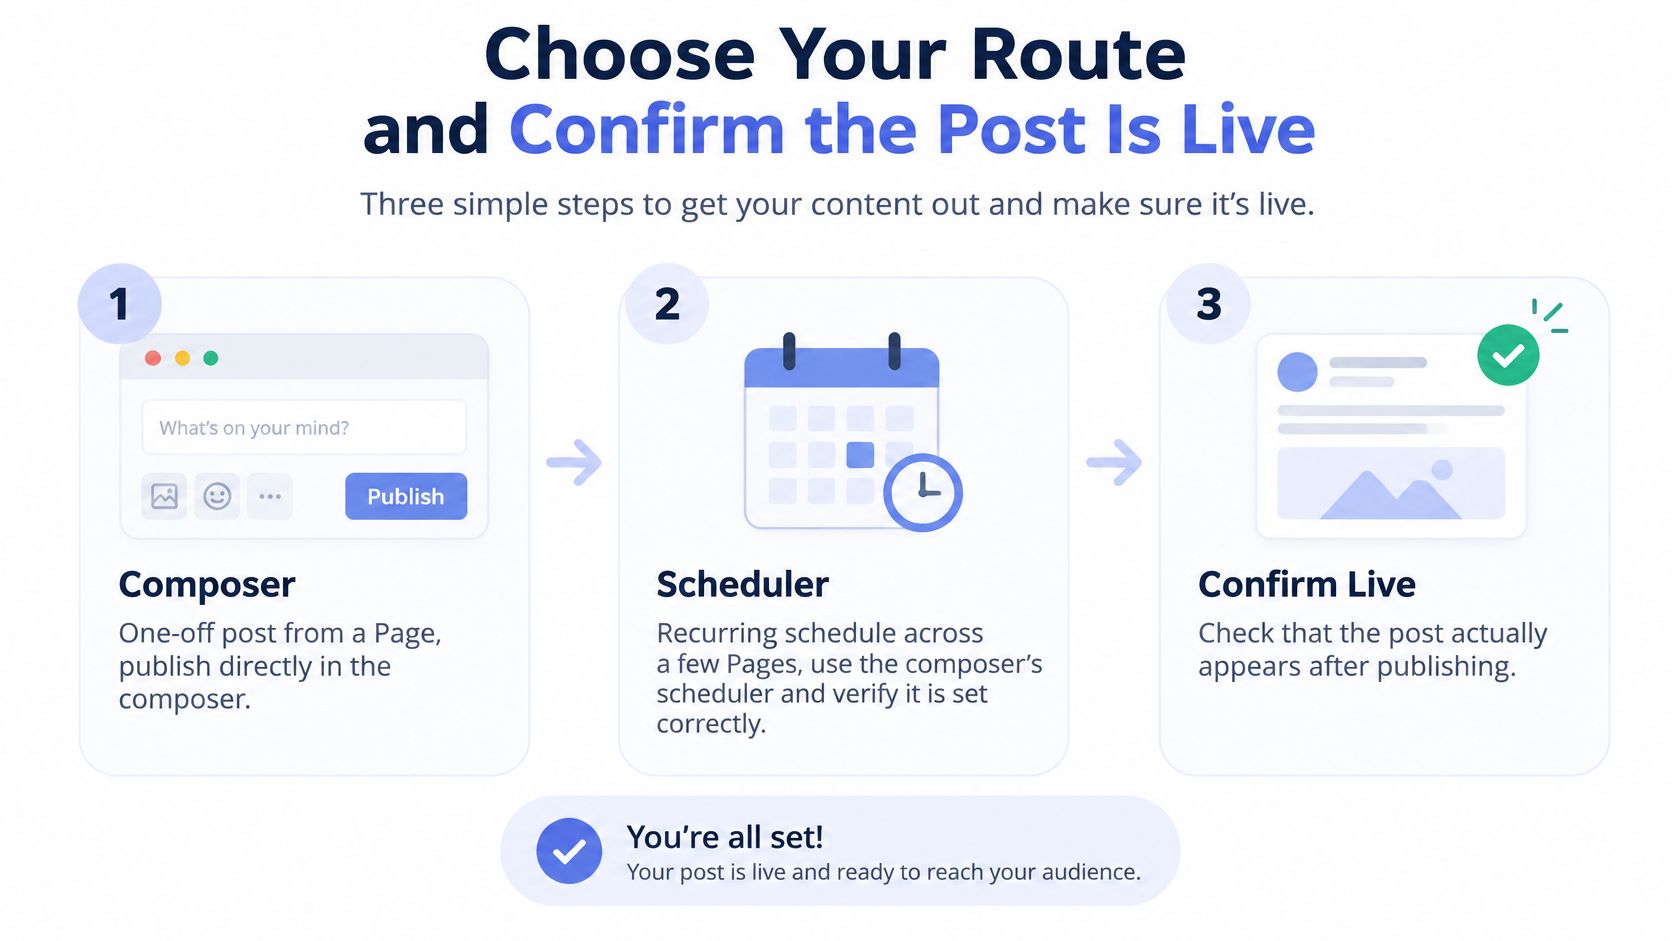 A three-step infographic showing how to post to Facebook, featuring a composer, scheduler, and live confirmation.
Require proof of delivery
In our managed workflow, a single POST sends content to every connected account, handles each platform's media rules, and calls your webhook on success or failure. Set that webhook so failures reach you without polling.
Check each account's status in the post details. You'll see the platform post ID and public link, or an error message if publishing failed. Open the live post and inspect the Page name, image, and alt text.
Deleting a post from PostPulse doesn't delete an already-published Facebook post. Remove it on Facebook when it needs to disappear.
For niche content planning, BEDHEAD's Facebook groups for mattress marketers can help you identify relevant industry conversations. Keep that editorial planning separate from delivery verification.
Before publishing, check:
Destination: The intended Page and connected account.
Content: The final image, caption, and human-reviewed alt text.
Timing: The publication date, time, and timezone.
Ownership: Someone responsible for checking the live result.
How to Post an Image to a Facebook Page or Profile
The most frustrating manual failure isn't a rejected file. It's a perfectly good post published under your personal profile instead of the business Page. Confirm the publishing identity before you attach anything.
For personal profiles, use the manual composer flow below. The Graph API workflow later in this guide applies to Pages, not personal-profile publishing.
Publish from the correct identity
Open the destination. Go to the Page you manage, or switch to your personal profile if that's where the image belongs. Check the name and avatar beside the create-post box rather than assuming the last-used identity is still selected.
Choose Photo/video and select your files. Open the create-post box, choose the media option, and select the image or images from your device. Inspect the preview to catch the wrong export, an accidental screenshot, or an unfinished design.
Write the visible caption. Put the message in the main text box. Give readers the context they need without making them decipher small text inside the image.
Review each photo's alt text. Open the photo's editing or accessibility controls and inspect its description. Don't treat an automatically populated field as evidence that someone has reviewed it.
Publish or schedule deliberately. Publish immediately when the post is ready. If the Page workflow offers scheduling, check the selected date, time, and timezone before confirming; don't assume the same controls appear in every profile and Page interface.
Open the published post. Confirm the displayed identity, image, and caption. If you scheduled it, inspect the scheduled item, then verify the live post after its publication time.
The flow is straightforward, but choosing the destination deserves its own check.
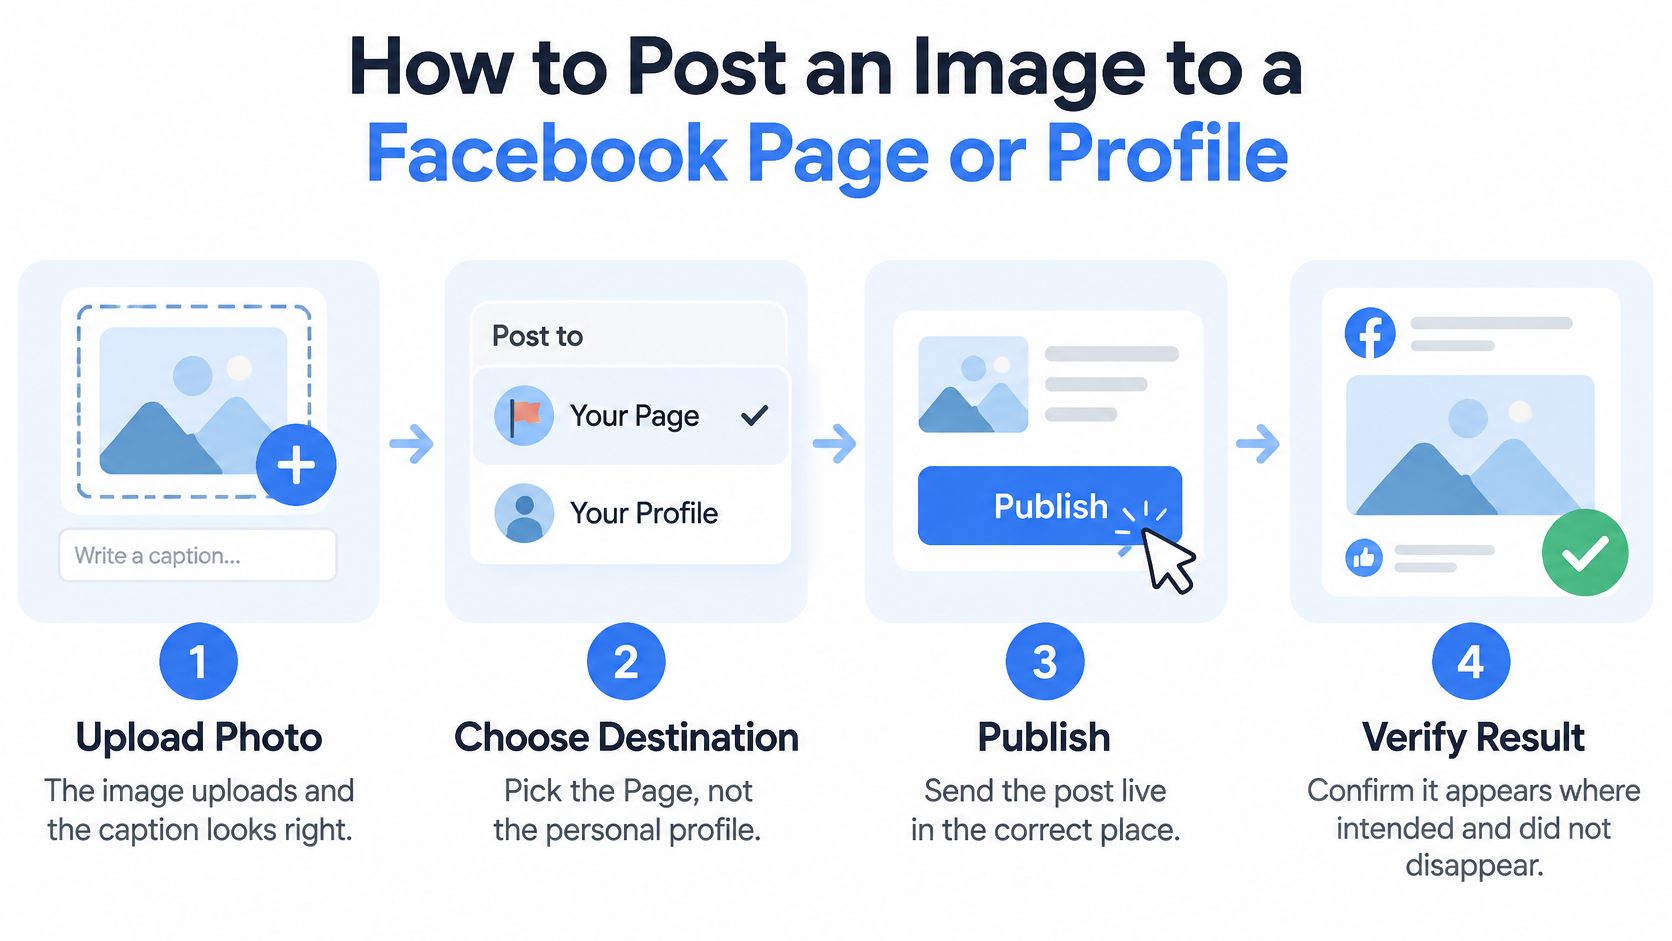 A four-step infographic showing how to upload and publish an image to a Facebook page or profile.
Fix access before troubleshooting the image
If the Page doesn't appear as a posting option, start with account access. Ask a Page administrator to confirm that your account can create content, using the appropriate editor or admin access in that Page's setup. Re-exporting the photo won't fix a missing permission.
For integrations, Meta's Page publishing documentation explicitly requires a Page access token and an app user who can perform the CREATE_CONTENT task; it lists pages_manage_posts, pages_read_engagement, and pages_show_list for the relevant Page Feed publishing workflow.
Logging into Facebook isn't blanket permission to publish to every Page associated with an account. Treat authentication and Page authorization as separate checks, especially when several people manage the same business.
Use our Facebook Page management guide when you're organizing the broader Page workflow and responsibilities.
Composer rule: Check identity, image, alt text, and publication status before you close the window.
Facebook Image Sizes, Formats and File Limits
Documented image specs for the Facebook photos endpoint
Setting | Documented value | Source |
Accepted formats for the photos endpoint | JPEG, BMP, PNG, GIF, TIFF | Meta Graph API photos reference |
Maximum file size for the photos endpoint | 4 MB | Meta Graph API photos reference |
Handling at publish | Meta resizes images and strips location metadata | Meta Graph API photos reference |
These are photo-endpoint specifications, not a universal specification for every Facebook placement or publishing interface. The endpoint reference doesn't establish recommended feed pixel dimensions or an ideal aspect ratio. Feed-image guidance sits in Meta's Help pages for the placement you're targeting. Keep uploader validation tied to the route you use, and don't copy an advertising spec into an organic-photo uploader.
Local validation only proves the file matches the endpoint's documented format and byte cap. It doesn't prove the final crop or text legibility.
Make validation change the file
An oversized PNG screenshot needs compression, resizing, or conversion, not another identical upload attempt. JPEG is a sensible candidate for photographic material, but inspect text and sharp edges after conversion. A smaller file isn't useful if the product label becomes unreadable.
A 6 MB design export exceeds the endpoint cap in the table. Reject it locally and ask for an optimized version before making a publishing request. Our image resizer is a practical starting point when the export needs smaller dimensions.
Keep your original master file. Generate a publishing derivative so you can adjust compression without repeatedly degrading an already-compressed image.
Validate the actual file: Check its detected format and byte size, not just the filename extension.
Inspect the derivative: Look closely at logos, small lettering, and product details after optimization.
Review sensitive content: Don't confuse removed location metadata with removal of visible addresses, landmarks, or other identifying details.
PurpleCow Digital Marketing's explanation of how to improve website speed with optimized images is useful background when the same creative assets also appear on your website. Keep those web exports separate from your Facebook upload rules.
The uploaded file is an input, not the final rendering. Judge layout and legibility on the live post.
Run the format and size checks in your pipeline before any upload. Then inspect the published result, because Meta's image processing means the original export alone can't prove the final presentation.
Writing Captions and Alt Text That Do Real Work
A caption copied into the alt-text field is not an accessibility strategy. Neither is a description that inventories every object, color, and background detail until the useful information disappears. The caption carries the message. Alt text gives the image's purpose and relevant visual content. Those jobs overlap sometimes, but they are not interchangeable.
Meta's automatic alt-text help explains that Facebook generates descriptions with computer vision and acknowledges they may be incomplete; publishers can replace them with human-written descriptions. An automatically populated description still needs editorial review. The failure mode is quiet: a generic machine description ships, passes visual QA because the image looks fine, and tells a screen-reader user nothing the post depends on.
Describe what matters to this post
A product durability comparison can use bamboo cutting board with three knife marks on a white counter. Image of a wooden object leaves out the evidence. The visible caption can explain the test conditions or invite a discussion about maintenance without repeating the same visual description.
Context changes the right answer. If the post is about kitchen styling, the counter and arrangement may matter more than the knife marks. If it is about wear, describe the damage clearly and leave incidental decor out. That judgment belongs to the person writing the post, not to a default template.
Handle text and automation deliberately
When an image contains words the reader needs, include those words in its description and consider putting them in the ordinary post text too. A sale announcement shouldn't require someone to read lettering embedded in a graphic to understand the offer.
Keep alt text concise enough that a screen reader is less likely to truncate it mid-description, but never drop meaning just to satisfy a length target. Screen reader behavior varies, and no single character count is a Meta requirement or an API limit.
The Page Photos API supports alt_text_custom, so accept an explicit alt-text field in your publishing pipeline. Preserve it through the request rather than storing it in your application and dropping it during upload.
Caption: Add context, explain relevance, and make any invitation specific.
Alt text: Describe the meaningful subject or evidence without unrelated detail.
Embedded wording: Convey key text in an accessible form.
Fallback: Use an image-specific default only when an explicit description is missing. Flag missing descriptions for review rather than inserting generic filler.
How to Publish an Image Through the Graph API or PostPulse
A request can look successful at the transport layer while its response contains an error. An upload can also time out after Facebook has received it, leaving your application unsure whether publication happened. Parse the response body and design for uncertain outcomes.
These are the failures your publishing worker needs to make visible.
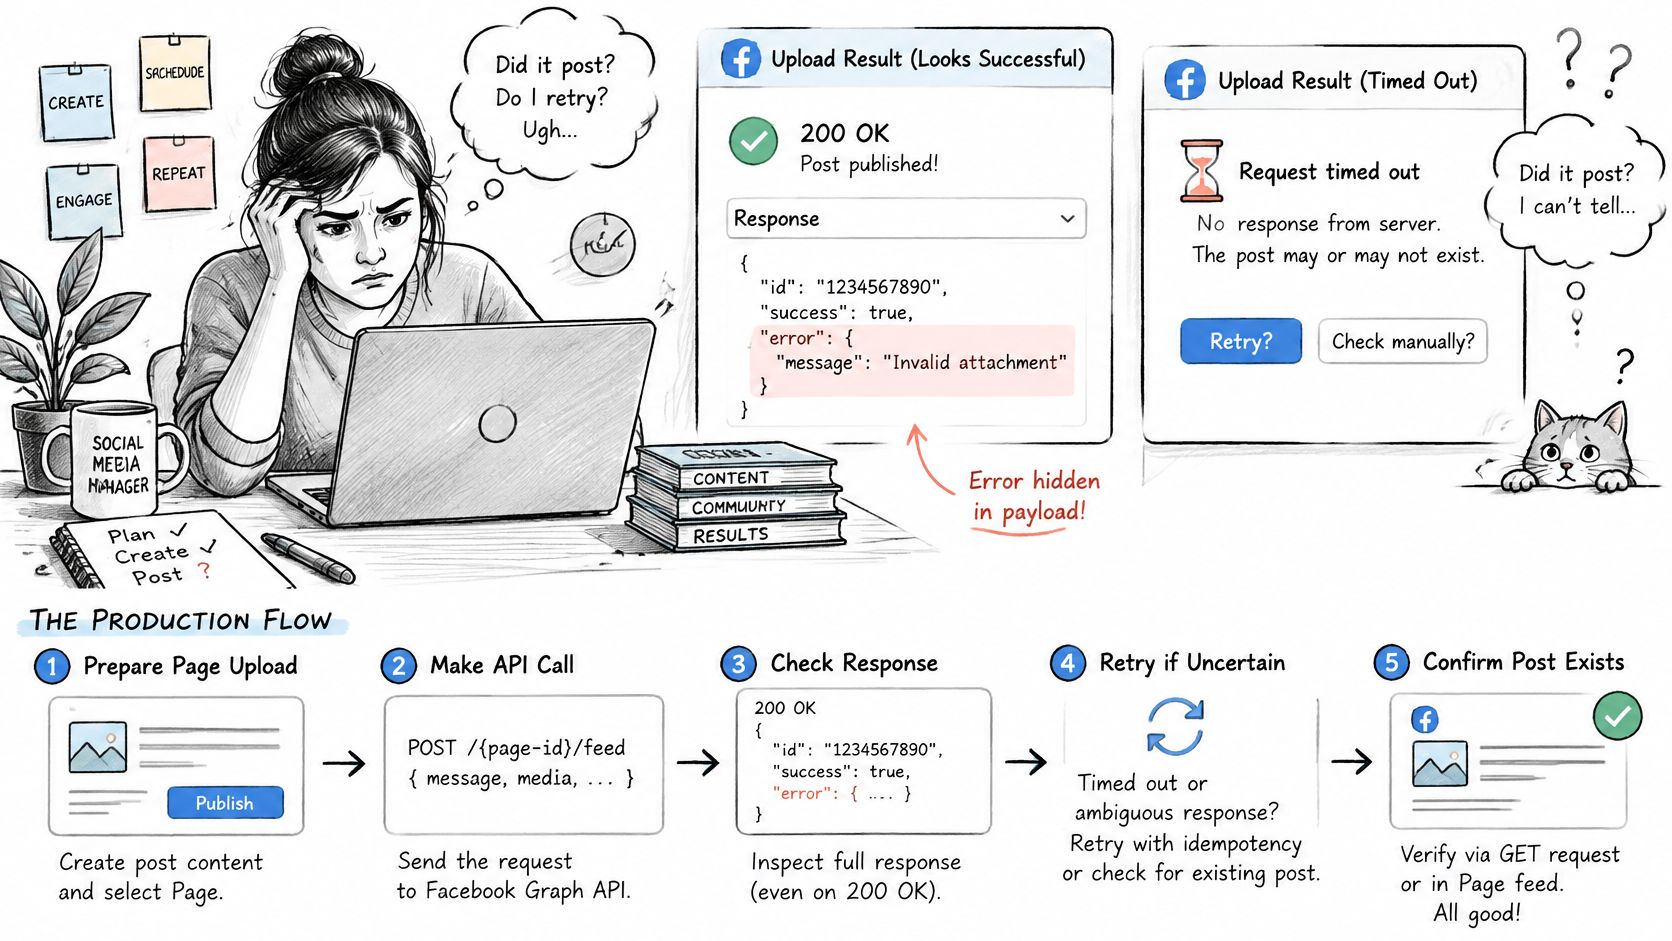 A woman looks frustrated at her laptop while analyzing API error issues during a Facebook social media post.
Build the Page photo request
Meta's Page Photos API reference documents publishing through POST /{page-id}/photos, using either a publicly reachable url or a multipart source, an optional caption, and a Page access token.
Use this production sequence:
Obtain a user access token through the login flow.
Identify the target Page and derive its Page access token. Keep the destination explicit in your application.
Confirm that the user can perform the Page's
CREATE_CONTENTtask.Request
pages_show_list,pages_read_engagement, andpages_manage_postsfor the applicable publishing flow.Preflight the upload: Check MIME type, byte size, public URL reachability when applicable, token validity, and Page ID. Then send the photo request.
Persist the returned photo or post ID with your internal publishing record so you can reconcile the result.
For a deeper integration walkthrough, use our Facebook API sharing guide.
Treat a timeout as indeterminate, not as a confirmed failure. Query the resulting object when you have its ID, or inspect the Page feed for the attempted publication before retrying. Blindly resending the same request can create duplicate posts.
Keep enough local context to investigate: destination, media reference, caption, attempt time, response body, and any returned IDs. Don't write access tokens into ordinary application logs.
Test the managed route
With our workflow, connect the social account through OAuth 2.0 PKCE. Authenticate your integration with its client ID and secret, fetch connected accounts, upload media if needed, and schedule a test post.
For small files, direct upload sends multipart/form-data to POST /v1/media/upload and returns the media path immediately. Alternatively, pass a public URL as an attachment; our workflow imports it before scheduling proceeds.
Confirm endpoint paths, request schemas, and webhook behavior in PostPulse's own documentation before coding. Meta's reference doesn't document our API.
Use the video as a companion to the implementation checks.
Graph API photo errors and fixes
Error code | Meaning | Fix |
200 with error payload | Permission error | Confirm |
100 | Invalid parameter | Preflight MIME type, byte size, URL, and Page ID before upload |
190 | Invalid or expired OAuth token | Re-authenticate and derive a fresh Page access token |
283 | Missing extended Page permission | Request the Page permissions from the sequence and re-authorize |
Handling Multiple Images in One Facebook Post
A set of product photos looks like a small extension of a single-image post. In the composer, that's a reasonable expectation: add several photos to one post and write a caption for the set. In an API integration, don't assume that putting an array into a single-photo request produces the same result.
Arrange the collection before publishing.
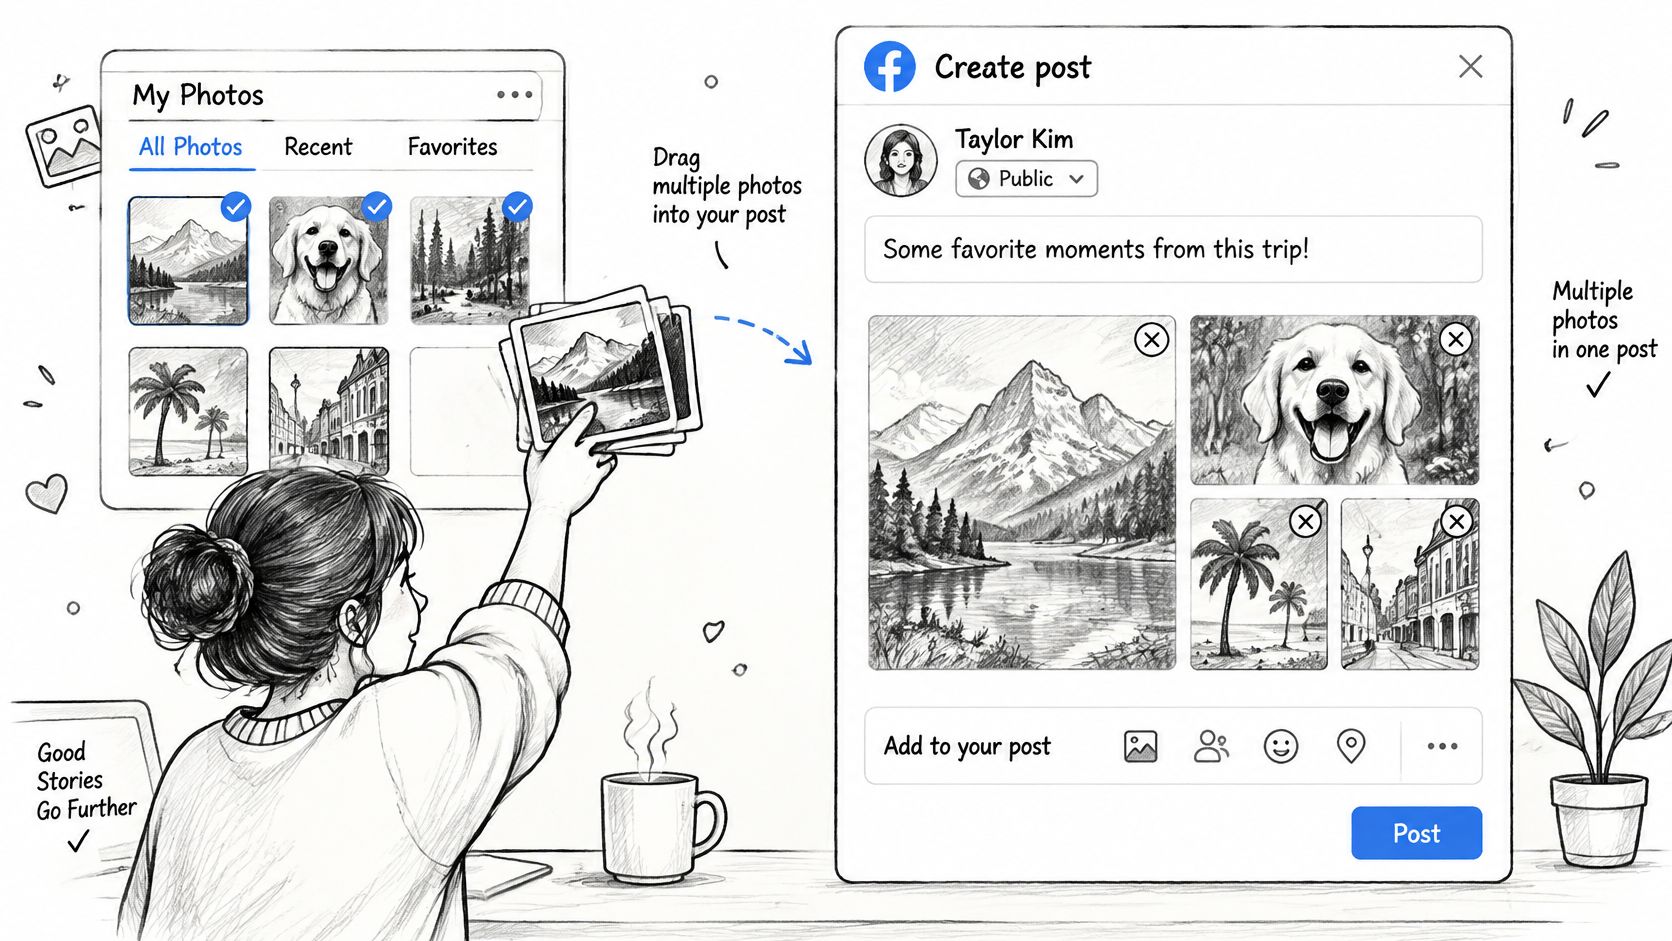 A line art illustration showing a person dragging selected photo files into a Facebook create post window.
Separate editorial order from API behavior
Lead with the strongest image, then organize the remaining photos so readers can follow the set. For a fashion collection, that might mean a complete outfit followed by details and alternate views. WearView's ai fashion lookbook is a relevant resource when you're preparing that kind of coordinated visual collection.
Write the caption for the whole post rather than describing only the opening photo. Review every attachment's accessibility description and validate every file, not just the first.
The documented photo-edge request accepts a single url or source per call. That doesn't establish a multi-photo feed-post implementation. Verify the multi-photo parameters in Meta's Page Feed documentation before writing that integration, then test a small pair of images on a suitable test Page.
Until you've verified that separate workflow, the documented implementation here is one photo per call, with each image posted separately. Don't promise a grouped post based on an unverified request shape.
Track individual files: Record which upload succeeded and which failed.
Preserve completed work: Don't resend successful files just because another attachment failed.
Verify the final grouping: Confirm that the published result matches the intended collection, not merely that every upload returned a response.
Match your implementation to the number of images you actually publish, not to the single-photo tutorial you copied.
PostPulse offers a managed publishing workflow for apps, automations, and AI agents, including media handling, scheduling, and delivery notifications. Visit PostPulse to connect a Facebook Page, schedule a test image, and check the returned status and live post before expanding your automation.
About the Author

Founder of PostPulse — a social media scheduling platform for creators and teams. Software engineer with a passion for building developer tools and simplifying complex API integrations across social media platforms.