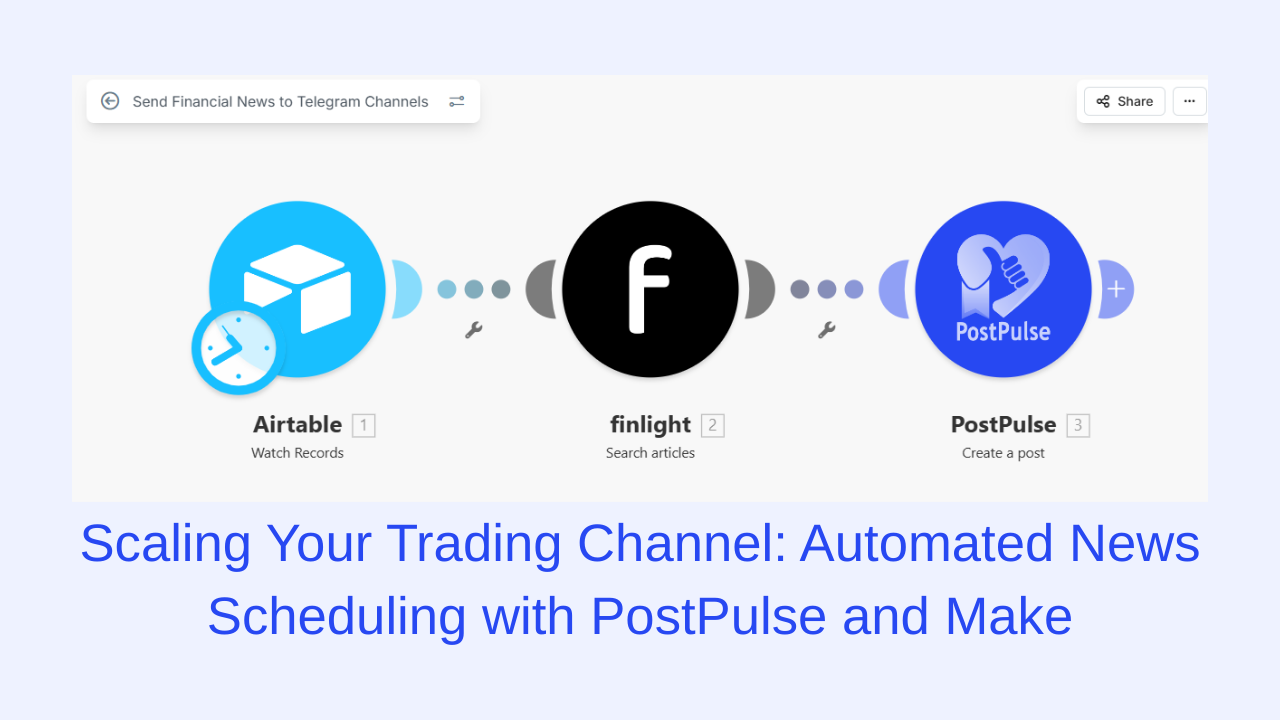
Send Financial News to Telegram
Published on · Updated on
Tags:
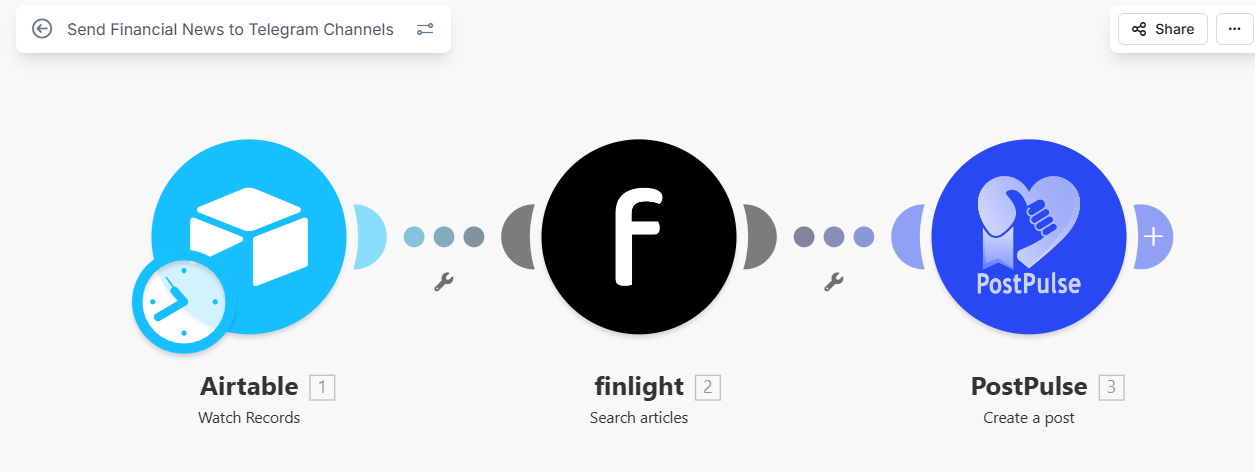
Getting the latest financial news for your trade can be the difference between a good day and a bad day. And if you're managing a group channel where members rely on these new for their trade, then the pressure is through the roof. In this article, we're going to walk you show you how to build an automation that sends financial news to your Telegram channel.
 ScreenShot Tool -20260312223955
Tools used
Make
Airtable
Finlight
PostPulse
Step 1: Setup Airtable Trigger
 ScreenShot Tool -20260312223401
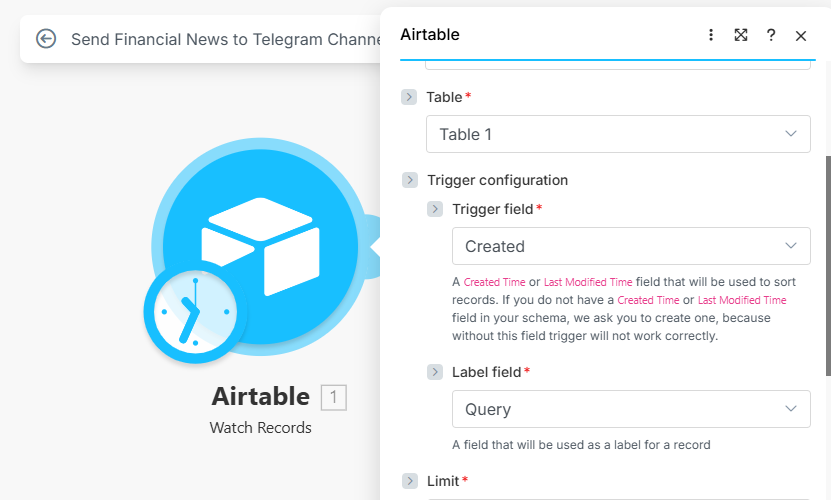
We'll kick off our workflow by using an Airtable Trigger. We're doing this because we're changing our industry of interest every week, and an Airtable base will allow us to create a new record any day of the week, for any industry of our choice, and our automation will still run exactly as planned. In our Airtable base, we only have 2 fields:
Query: Where we'll update our search query.
Created: The creation date of our row.
Our trigger field is going to be the Created field.
Step 2: Get Financial News from Finlight
 ScreenShot Tool -20260312223541
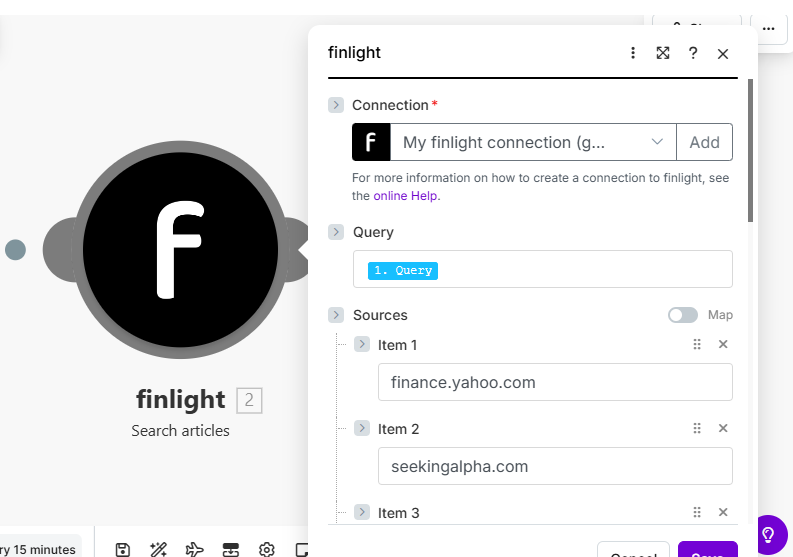
For our next step, we're using the Finlight module, and we'll use the search article action to get the latest financial news for our industry. Finlight is a financial news API that sources real time finance news from multiple sources at once. We'll use the Query field from Airtable as our search query, and we're going to input the websites we'd prefer to get our news from, you can list as many as you'd like.
Step 3: Schedule Post in PostPulse
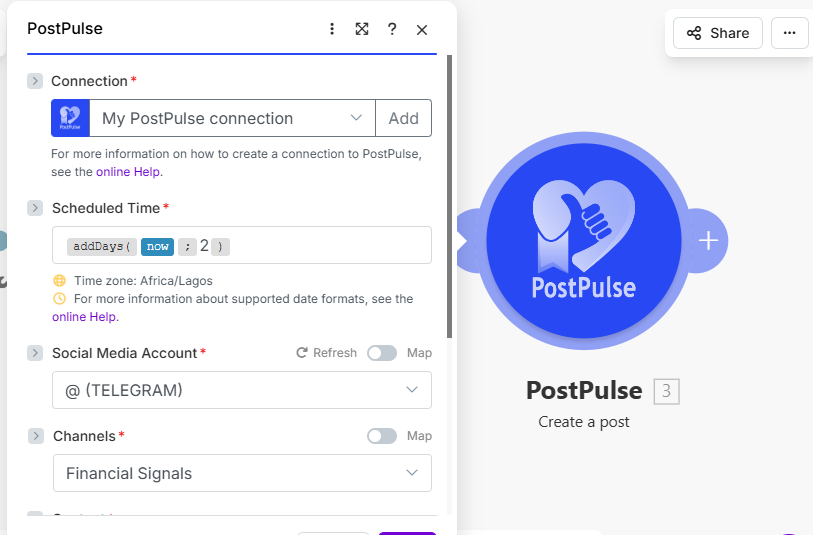 ScreenShot Tool -20260312223655
Once we've got our Finlight results, we want to setup a schedule that sends these results to our Telegram channel everyday. To do that, we're going to use the PostPulse module in Make to schedule our post.
For this step, you’ll need a PostPulse account. Once you’ve opened up an account you can head over to the developer dashboard and Create a New App, when creating a new app, you’ll need an application name and a redirect URL for Oauth.
Note: Use this redirect URL for Make applications = https://www.make.com/oauth/cb/postpulse
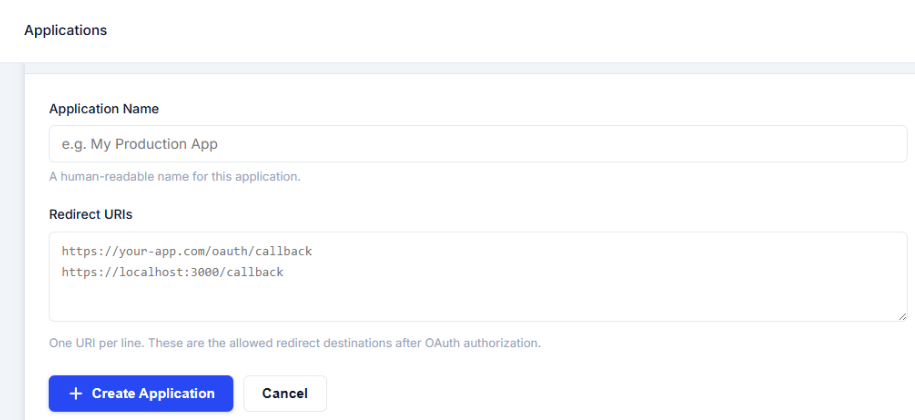 make-image-12
Once you’ve created an application, you’ll be given a Client ID and a Client Secret key, copy these and paste them in the PostPulse module in Make.
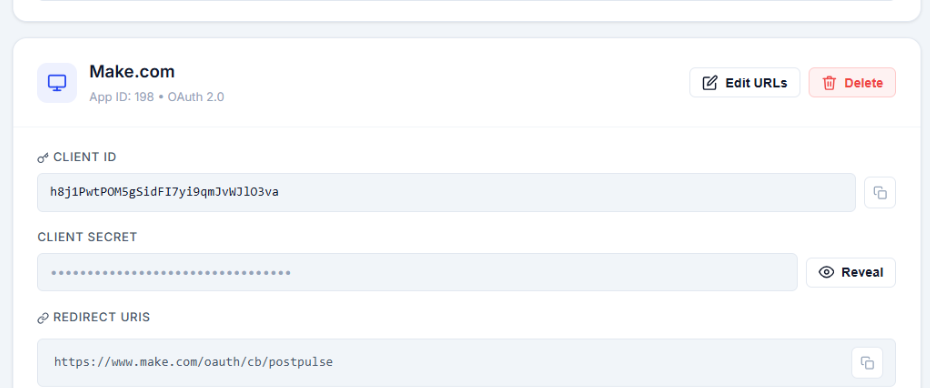 make-image-09
Because we want to schedule a new post everyday; In our Scheduled Time field, we’re going to add a formula.
 ScreenShot Tool -20260312223750
The formula we’ll be using is the addDays formula; this will allow us to add a day to our calculations, or in this case our schedule. So when we switch on our automation, and schedule it to run everyday, our formula is going to add an extra day each and every time our scenario runs, scheduling our next post for the next day each and every time.
Now usually, we'll proceed to just selecting our social media channels and mapping out our content before we call it a day. But because we're sending our posts to Telegram, we'll have to take an extra step before our automation can send posts to our channel.
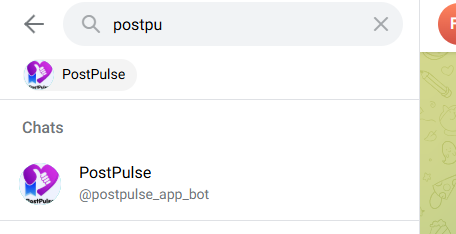 ScreenShot Tool -20260312224122
In Telegram, we're going to add the PostPulse bot to the channel of our choice. This will allow PostPulse to recognize what channel we want to send our posts to, you can do this for as many channels as you wish.
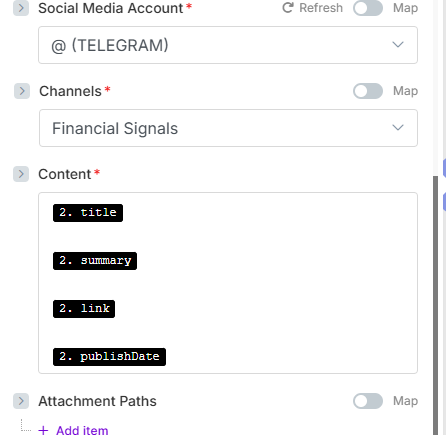 ScreenShot Tool -20260312223906
Once you've done that, you should be able to see your desired Telegram channel in a dropdown option. Once you've selected that, all that's left to do is to map our the results from our Finlight module that you'd like to send to your channel.
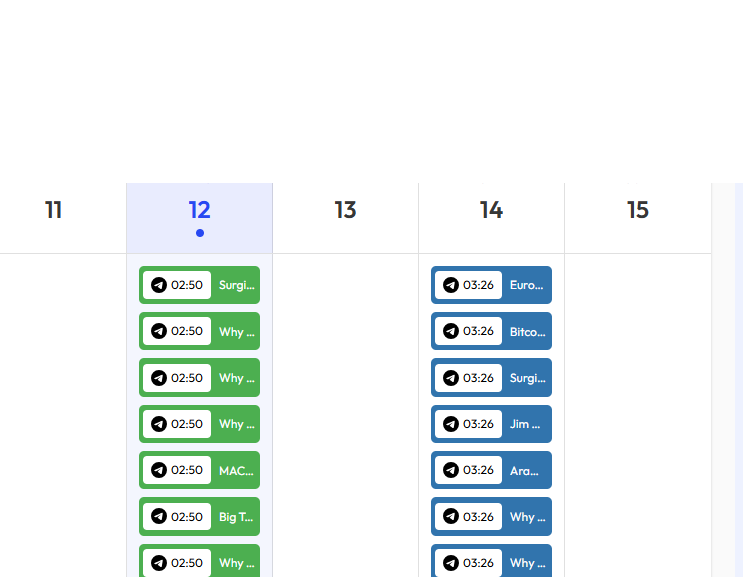 ScreenShot Tool -20260312224425
Follow these steps successfully and you'll be able to view your scheduled Telegram posts in your PostPulse dashboard.
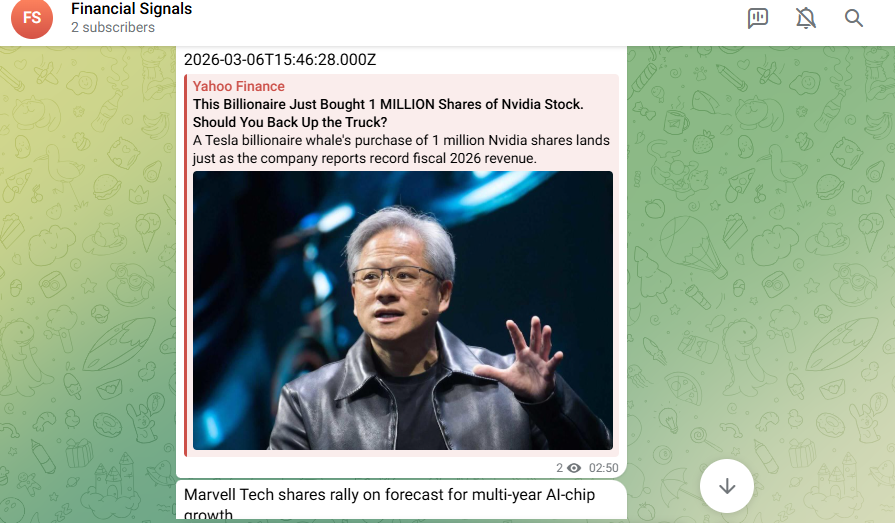 ScreenShot Tool -20260312224316
If you’re interested in this automation, you can find a copy of this workflow below and use it as a template.
About the Author