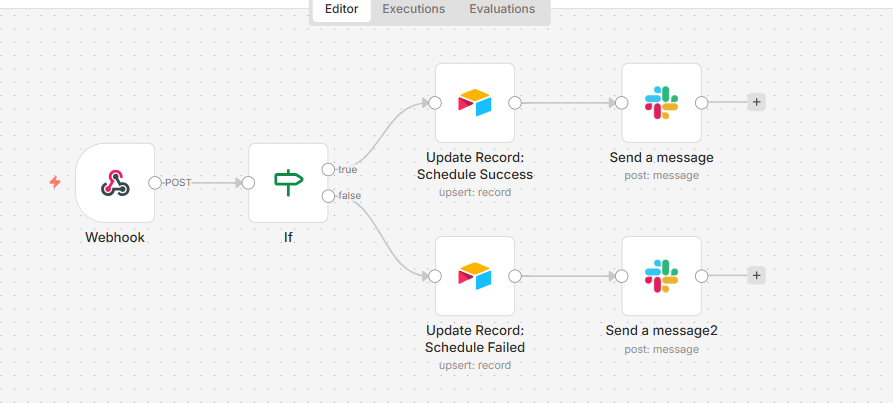
Create PostPulse Webhooks in n8n
Published on
Tags:
If you've followed our previous walk-throughs, you'll understand that sometimes when scheduling a post, something goes wrong; a scheduled post could fail, or stall. And if you're working in a team, then it's important to keep every member of the team up to date on the status of your scheduled posts. While there are lots of ways to send progress reports to your team, for our money, we'd recommend using a webhook. In this article, we're going to walk you through how to set up a PostPulse webhook in n8n.
ScreenShot Tool -20260324014641Step 1: Setup Webhook Node
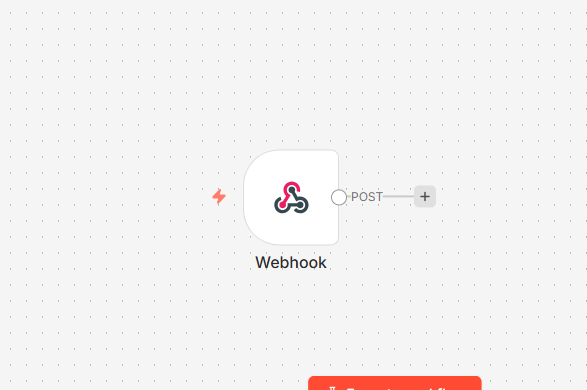 ScreenShot Tool -20260324013732
Add the webhook node in your n8n workflow. In our node, we're going to find two URL's: a test URL, and a production URL, we'll use the production URL for our demonstration.
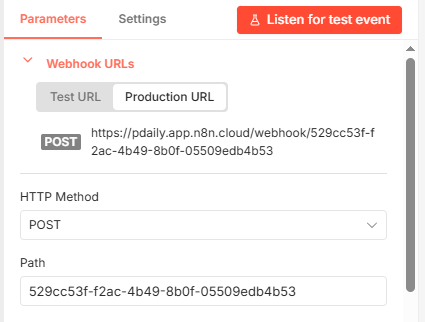 ScreenShot Tool -20260324013704
Our HTTP method is going to be a POST method. And our authentication method is going to be a Basic auth. With a basic auth, we can set up simple credentials using the User and Password fields.
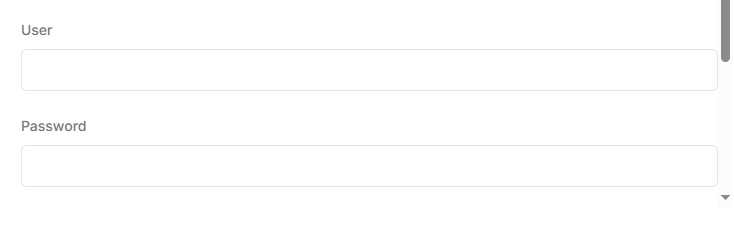 ScreenShot Tool -20260324013832
Note: When using the production URL, in order to receive live responses, switch n8n workflow from inactive or unpublished, to active or published.
Step 2: Add Webhook in PostPulse
Once you've set up your webhook in n8n, copy your webhook URL and head over to your PostPulse developer portal. In your dev portal, you'll find the webhook panel to your left.
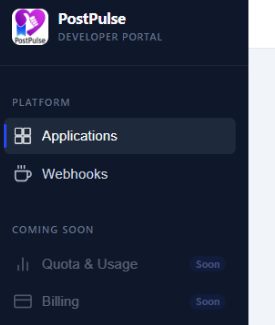 ScreenShot Tool -20260324014246
In the webhooks section, create a new webhook in the application of your choice.
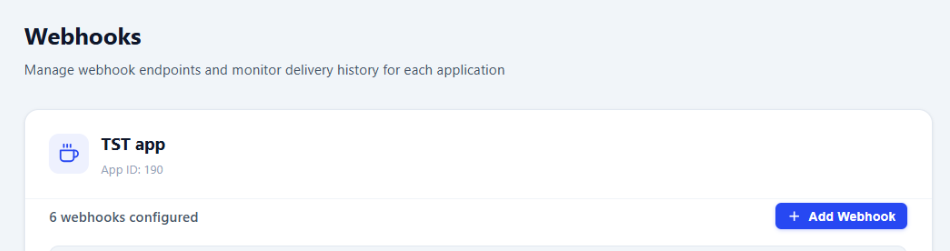 ScreenShot Tool -20260324014318
Note: The app chosen must be the exact same application as the one with the PostPulse API key you're using in n8n.
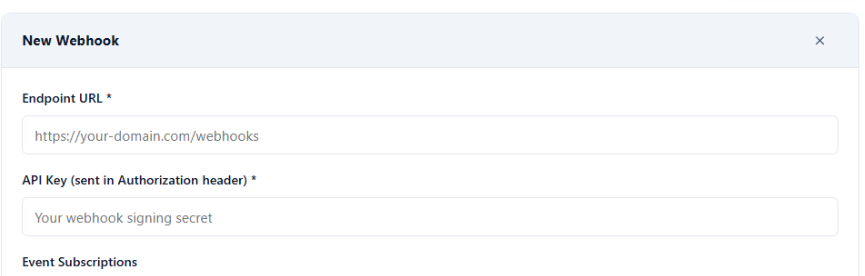 ScreenShot Tool -20260324032545
When creating a new webhook, add your webhook URL in the endpoint URL field. In the API key field, you're expected to add a unique key to keep our webhook calls secure. To generate an API key, we're going to head over to base64encode.org to turn our basic auth credentials from n8n into a security key.
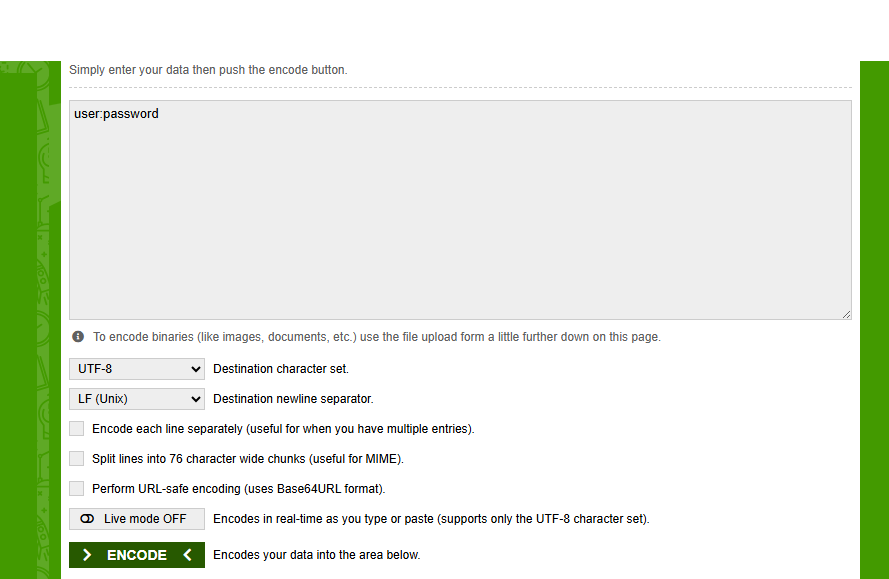 ScreenShot Tool -20260324014022
To do that, add your basic auth user and password details (for example; user:password) and click on the encode button. It will generate a unique key.
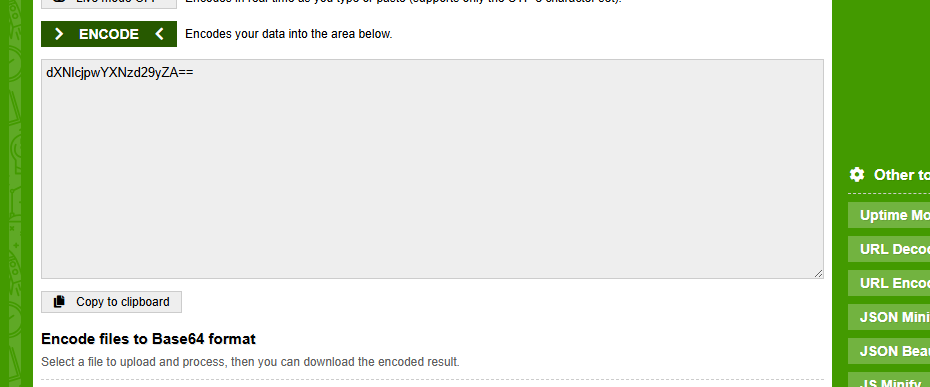 ScreenShot Tool -20260324014125
Add the authorization header "Basic" in front of your key, and you now have an API key to use.
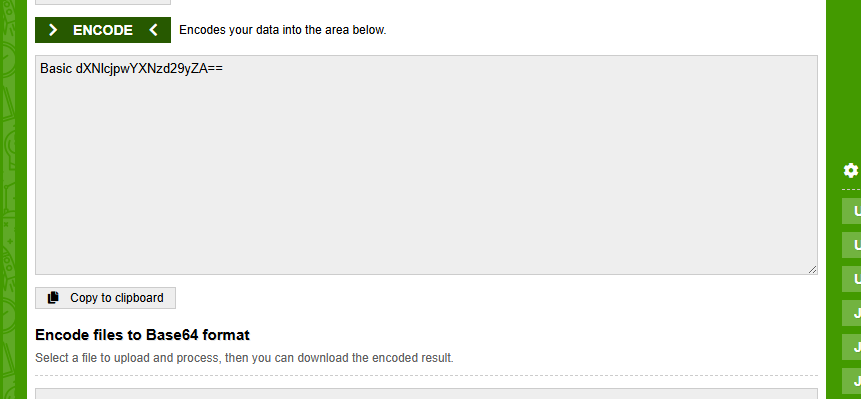 ScreenShot Tool -20260324014218
Copy and paste this key in the API key field. Once you've done that, all that's left to do is to set up your event subscription; this is where you'll select the kind of event responses you'll like to receive. While you can subscribe to all events, for this demonstration you should subscribe to just 3 events:
schedule.completedschedule.failedschedule.partialy_completed
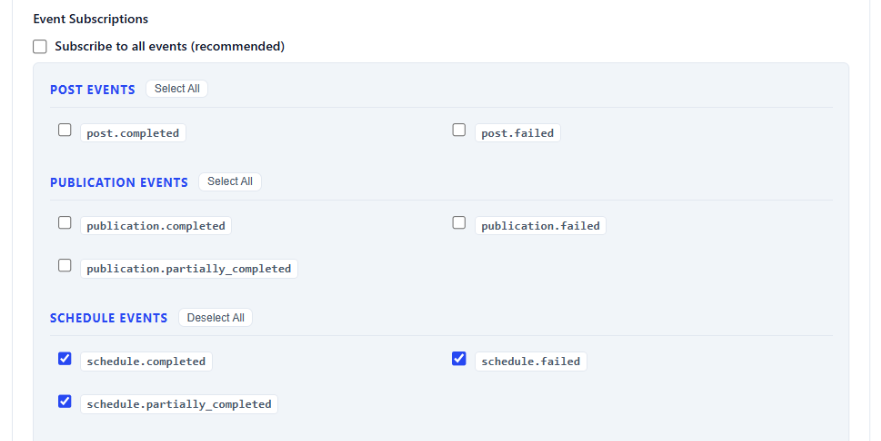 ScreenShot Tool -20260324032625
Once you've done that, click on the create webhook button and you're all done. You would have now setup your PostPulse webhook.
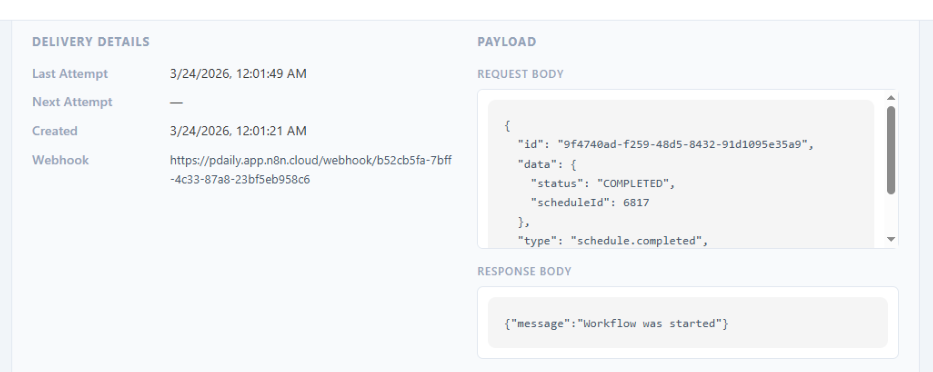
If your webhook has been set up successfully, you should be able to view all of your webhooks calls from your webhook dashboard in PostPulse.
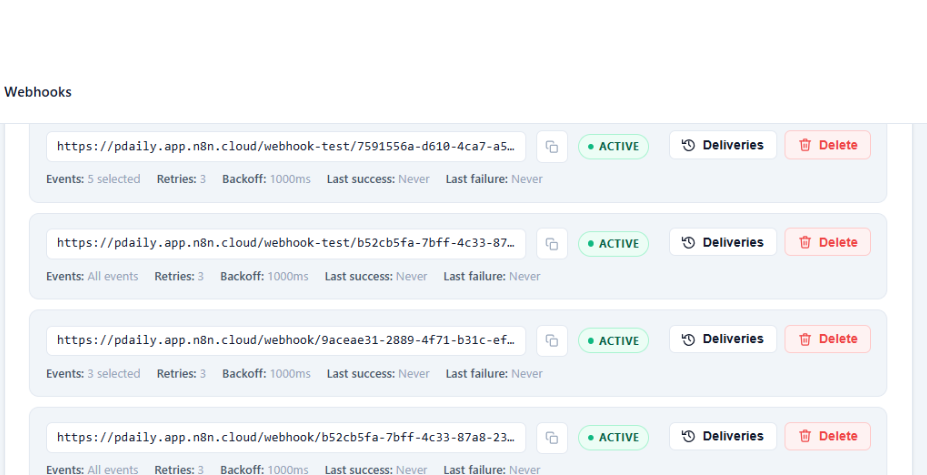 ScreenShot Tool -20260324014350
And you'll also be able to view the webhook's JSON payload and response.
 ScreenShot Tool -20260324014459
About the Author